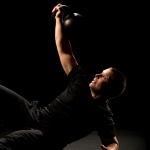
The get-up is one of those all-encompassing exercises that covers several bases.
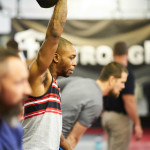
If you’ve seen anyone go from lying supine on the ground (on their back) and moving up to standing, they’ve essentially performed a variation of the get-up. Granted, the “get-up” you saw might not have been done in the exact way we teach it at StrongFirst—let alone with such an impressive load overhead—but the transitions are very similar.
The get-up is a skill that requires mobility, stability, strength, and coordination. For some, it comes fairly easy; but for others, it’s quite a challenging feat.
Regardless of where you are at in your strength journey, you can practice exercises and drills that will improve every building block that goes into a solid get-up. Here are my top five. (And for the visual learners, I’ve included a video at the end of the article with demonstrations.)
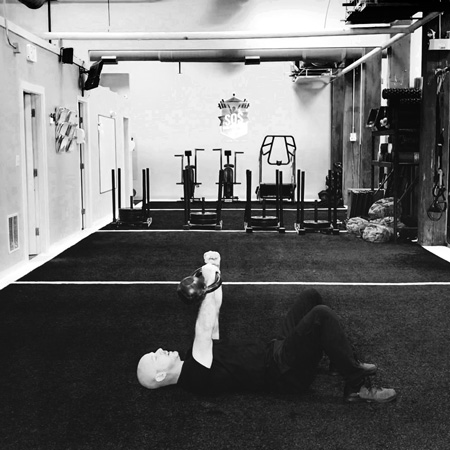
The Single Arm Floor Press
The kettlebell floor press is a fantastic exercise that trains strength and confidence to get into the get-up’s starting position. When performed properly, it’s a fantastic upper body horizontal pressing exercise that has many positive carryovers to a full get-up, not to mention the pushup and the bench press.
Key points for the floor press:
- Keep your wrist neutral during all repetitions;
- Engage your midsection to resist any rib-flaring throughout;
- Keep your scapula retracted (back and down);
- Make sure your shoulder joint does not migrate forward;
- Start by keeping your elbows approximately 45° from your torso. This is a starting point—from here, find the optimal angle for you and/or your student;
- Actively pull the kettlebell down towards the floor using your lats; this is also known as an active negative.
From a programming standpoint, 4 to 5 sets of 5 reps of the kettlebell floor press is perfect for strength development.
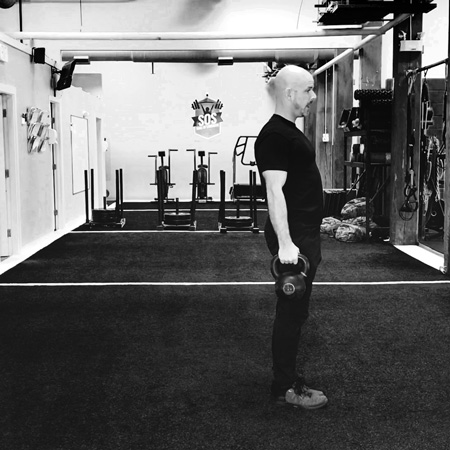
Lunge Variations
Two lunge variations are incredibly beneficial when you’re trying to build your get-up. The first is a traditional reverse lunge. The other is a progression: a reverse lunge with a single kettlebell held overhead.
The traditional reverse lunge is the best starting point for improved lower body strength and deceleration control. This variation can be loaded in many ways: symmetrical (double kettlebells—as shown here), ipsilateral (single kettlebell on the same side), and contralateral (single kettlebell on the opposite side); either with a suitcase (shown here) or rack hold.
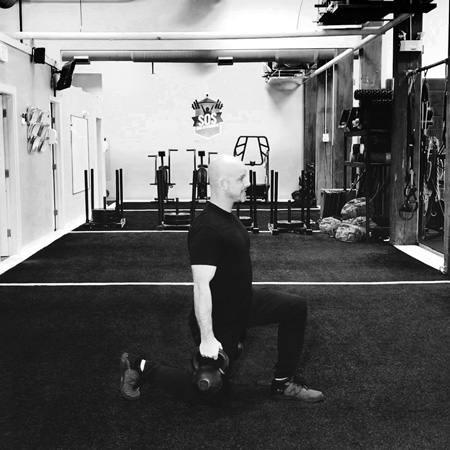
Symmetrical loading can absolutely improve your get-up, especially if you’re having trouble from the half-kneeling position up to standing. To do this, grab a pair of kettlebells and hold them in the suitcase or farmer’s position (by your sides). Perform 4 to 5 sets of reverse lunges on each side. Control the descent on each repetition—decelerate smoothly—and make sure not to bang your knee on the deck. Progress to a rack hold—which is a great drill if your torso tends to pitch forward.
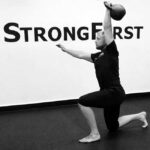
The overhead reverse lunge is the variation you will see in the full get-up. By isolating this movement in practice, we improve this part of the get-up.
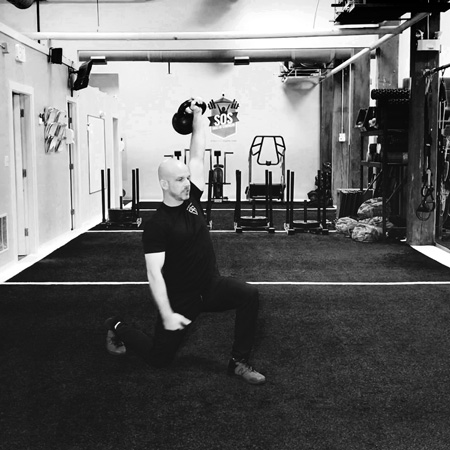
From a programming standpoint, building towards 4 to 5 sets of 5 reps of overhead lunges will immensely improve your get-up while building stronger legs.
Key points for both lunge variations:
- Keep your knee tracking over approximately the fourth toe on the front foot when performing a lunge;
- Do not tightrope your stance: lunge back without hip adduction;
- Control both portions of the lunge—the eccentric and concentric portions;
- When it comes to positioning your lower body, the 90/90 position is a great starting point; this means that both your knee and hip are at approximately 90° of flexion;
- If you choose to perform the overhead lunge, keep the kettlebell stacked over your shoulder and pelvis; biceps in line with your ear is a great starting point.
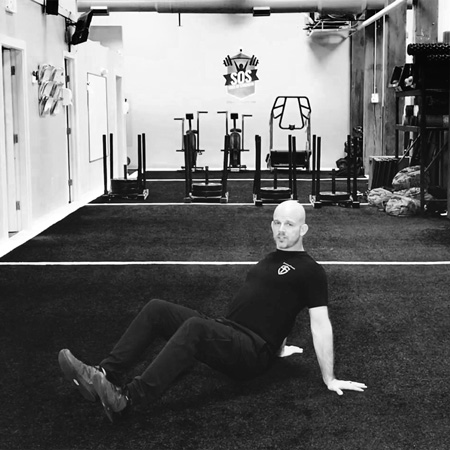
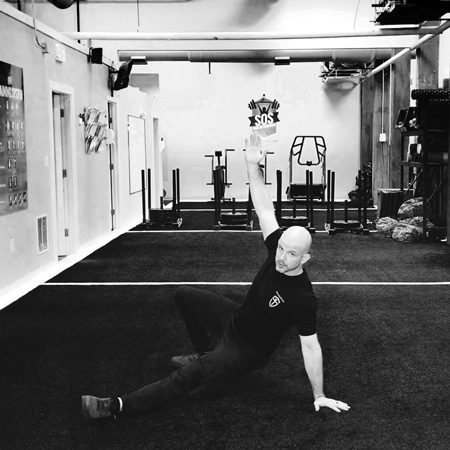
The Reverse Plank
While it might sound like a midsection exercise, the reverse plank is a simple way to teach someone how to “pack” the shoulders. From my experience, it’s much easier to teach someone how to pack their shoulders bilaterally then unilaterally. The reverse plank is a simple drill that teaches optimal shoulder positioning for the get-up (while training excellent core stability). Once you can feel a nice stable position in the bilateral reverse plank, shift your weight over to the side and practice with a single arm.
I’ve found that 3-4 sets of 20-second isometric holds are perfect for practicing and cementing the shoulder position and are ideal full get-up preps. Performing the holds with this type of limited volume will reinforce optimal shoulder positioning with minimal fatigue.
The reverse plank will help solidify the post position in the get-up and improve overall shoulder stability.
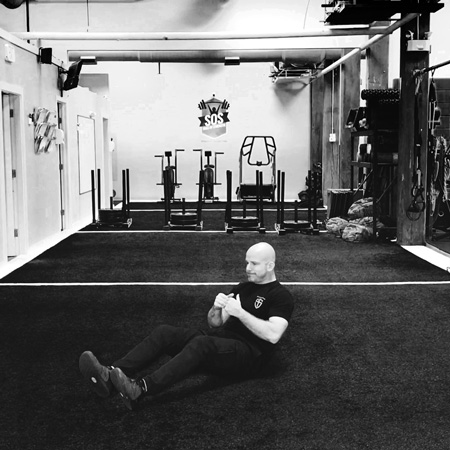
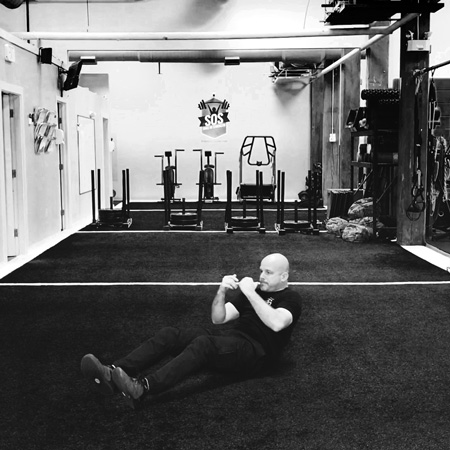
The Hard Style Sit-back
Once you know how to efficiently roll up to your elbow, the next step is to control your body back to the floor. Unfortunately, this critical full get-up step is quite often overlooked or ignored—and can be the difference between meeting the technique standard or falling short.
The hard style sit-back is a devastatingly effective core drill that improves abdominal deceleration strength with strong carryover to the get-up. When you transition from the elbow back down to the floor, you need to eccentrically control your torso to the ground as you manipulate your body around the bell. This takes coordination, strength, practice, and patience.
Start in the hook lying position (on your back with knees bent), dig your heels into the deck, and slowly lower yourself to the ground. The goal is to maintain a neutral lumbar spine, and also a slightly flexed thoracic spine as you descend with ultimate control. For this drill, slower is better. Try to make the hard style sit-back last from 3-5 seconds, performing 3-4 sets as a starting point.
This exercise can be used prior to performing get-ups or after your strength training. Regardless of where you decide to put this in your program, take your time and remember that execution is everything.
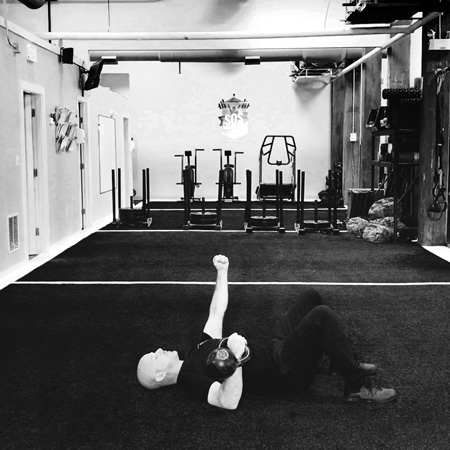
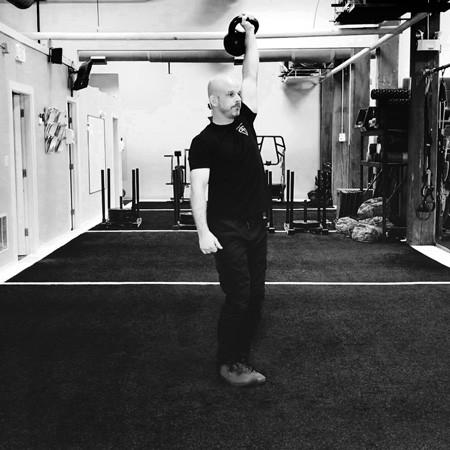
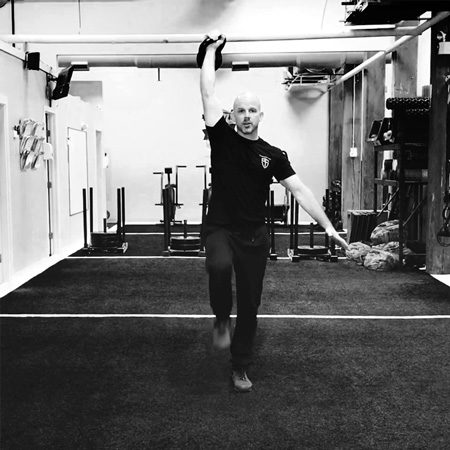
Overhead Marching
When the kettlebell is positioned overhead, remember that your entire body is supporting the load and not just your shoulder joint. So learning to march with the kettlebell overhead can accomplish several things: awareness, alignment, and strength.
When the kettlebell is in the overhead position and you start marching in place, you will quickly get feedback on the position of the bell as well as how well you are supporting it. If the kettlebell is too far forward or back, you will have a tough time owning the overhead position and most likely struggle. This drill should give you immediate feedback on whether your structure is supporting the load or if you are loading it only onto your shoulder. The beauty of this drill is that it is self-limiting—you do not require much coaching and it’s very easy to feel a good position versus a bad position.
Overhead marching will also create stability in the overhead position as well as localized muscular endurance in the shoulders. It’s truly one of those drills that serves several purposes and is fairly simple to execute. However, do not be deceived on its apparent simplicity.
Start with multiple sets of 15–20 second marches with the kettlebell in each hand. Once you can easily march for 30 seconds, you can move to a heavier bell. I use these early in a program to dial in the overhead position as well as fire up the nervous system.
All of these exercises will help various components of your get-up—and many other movements as well. The key is to determine which parts of your get-up are the weakest and then you can insert these drills to strengthen the positions that need extra attention. Bonus: improving your get-up has significant carryover benefits to many other movement patterns.
Related Resources
“Before you can improve, you must learn.” The StrongFirst Kettlebell Fundamentals online course is the perfect resource to get you started.
Train your get-up and swings with the paperback, audio, or Kindle edition of Kettlebell Simple & Sinister 2.0.
Need a kettlebell? Get yours here.
You may also like:
Mike began his career at a medically based training facility where he worked closely with physical therapists, Certified Athletic Trainers (ATCs), acupuncturists, and chiropractors.
Mike holds the following certifications: Certified Personal Trainer through the National Strength and Conditioning Association, StrongFirst Certified Senior Instructor, StrongFirst Elite Instructor, USA Weightlifting Sports Performance Coach, USA Track and Field Level 1 Coach, Functional Movement Screen Certified, and Certified Kettlebell Functional Movement Screen Specialist. In addition, Mike works as an assistant staff instructor for Functional Movement Systems.


Many thanks for all this ideas Michael! I especially like the sit-down. Never heard of this before and I was looking for something that could address this specific phase.